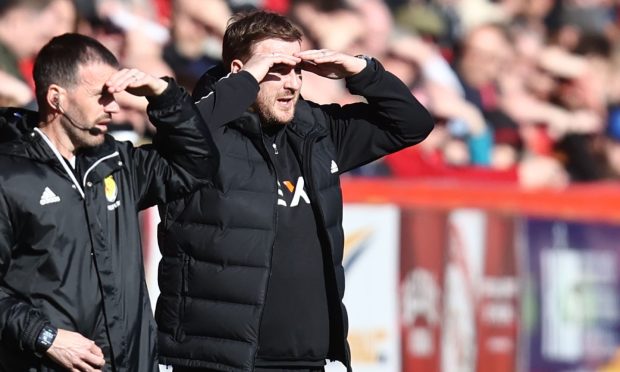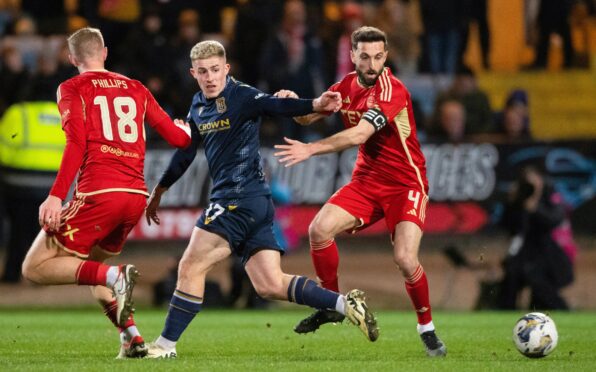
There can be no doubt it has been a case of back to the drawing board for Aberdeen and manager Jim Goodwin this week following their 3-2 loss to Motherwell at the weekend.
The Dons were punished for a poor defensive display by the Steelmen as they went from taking the lead to having to come from behind before winning the game at Pittodrie.
Clearly there are lessons which need to be learned as the Dons bid to bounce back for Saturday’s game at St Johnstone.
But what are they?
Dealing with the high press
Motherwell, as was the case last season against Stephen Glass’ Aberdeen, were happy to let the Dons have possession of the ball.
Setting out in a 4-4-2 formation, the visitors pressed Aberdeen, who lined up in a 4-2-3-1 formation, high and it paid off.
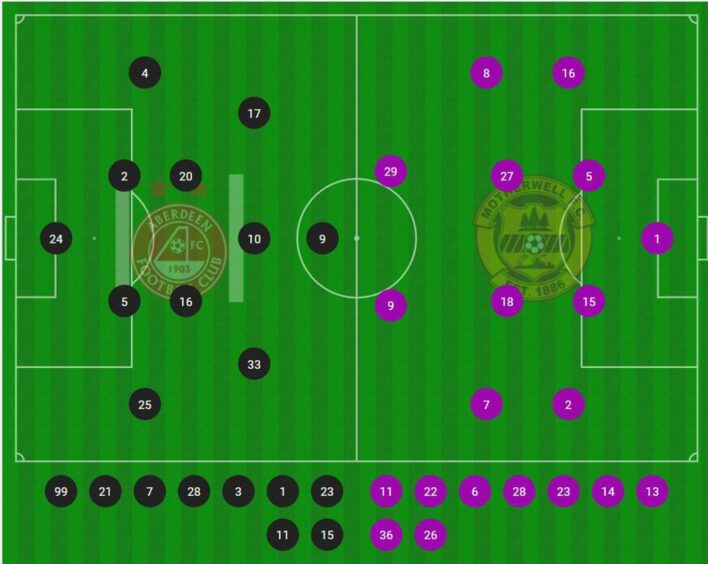
They played with an air of confidence, allied to an excellent high press, which Aberdeen simply failed to deal with.
Stevie Hammell’s side was able to bypass the Dons defensive midfield pairing of Ylber Ramadani and Leighton Clarkson and it spelled trouble for the home side’s defensive backline.
Both captain Anthony Stewart and Ross McCrorie struggled against Well’s attackers.
Holding a high line is a gamble and one which Bojan Miovski so nearly exploited when the game was goalless, racing clear after a stumble from Well’s Solholm Johansen.
But on the whole it worked for the visitors and Stewart was left covering two positions as the average positions of the players shows here.
Space exploited by ruthless Steelmen
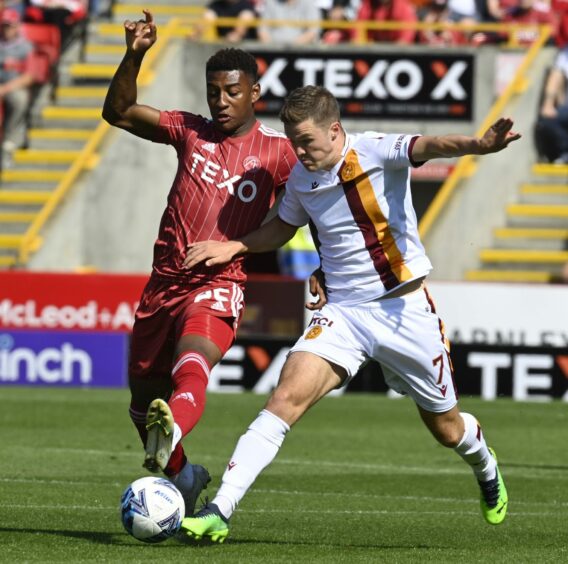
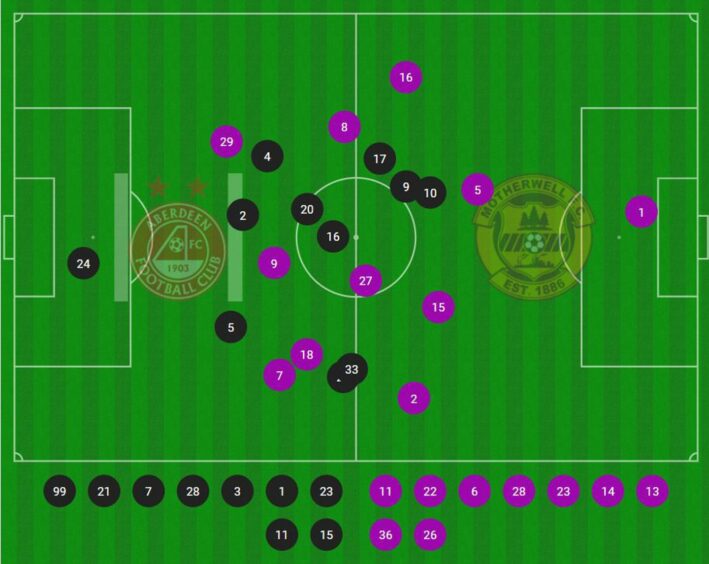
With right back Jayden Richardson practically sharing Matty Kennedy’s space on the right of midfield it left an awfully big gap ripe for exploitation from the visitors.
Granted, Kennedy only lasted 30 minutes before being forced off with injury but with Richardson seemingly committing himself further forward it only added to the issues for Stewart to deal with.
Look at those average positions again. Stewart was left having to deal with Blair Spittal and Dean Cornelius for long spells and it left a huge gap for Kevin van Veen in between the Dons captain and Ross McCrorie.
A quick look across the left back position occupied by Liam Scales shows Connor Shields was also able to enjoy yards of space in behind the on-loan Celtic defender during the game.
Shields made the most of his space as he got in behind Scales to cross for Spittal to score the opener for Well.
Set-piece malaise returns
Aberdeen’s defensive weaknesses were clear for all to see last season and they returned with a vengeance at the weekend with the second goal illustrating just how off the pace the Dons were.
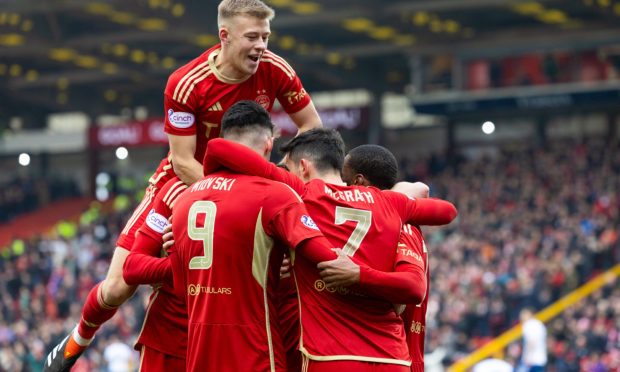
Having taken the lead thanks to Jonny Hayes’ goal early in the second half the Dons shot themselves in the foot in horrendous fashion.
Stewart, whose role seems to be to deal with any ball from a delivery in the six yard box, misjudged the flight of the corner delivery and from there the home side was in deep trouble.
Callum Slattery was given the role of ensuring Kelle Roos stayed on his line and when the Aberdeen goalkeeper eventually shrugged him off the midfielder was left standing unmarked at the back post to tap home the equaliser.
Defensive confidence dented
It had been two morale-sapping goals to concede for Aberdeen and perhaps the fragile confidence played a role in Well’s winner.
Richardson, McCrorie and Scales are all caught ball watching in the build-up before the ball is played through to Spittal. His shot comes back off the crossbar and Richardson is again to slow to react as van Veen gets in ahead of the static Aberdeen backline to head the rebound into the empty net.
How to fix it?
It’s hard to disagree with that sentiment.
With Jack Mackenzie working his way back from injury it may mean sacrificing Jonny Hayes for a left back role if Hayden Coulson is not fit enough to return.
But with an abundance of attacking options at his disposal now the case can be made for Hayes dropping deeper short term if needed.
Thankfully, St Johnstone are unlikely to deploy a high pressing style like that shown by Motherwell with Callum Davidson’s preference a three-man defence with wing backs.
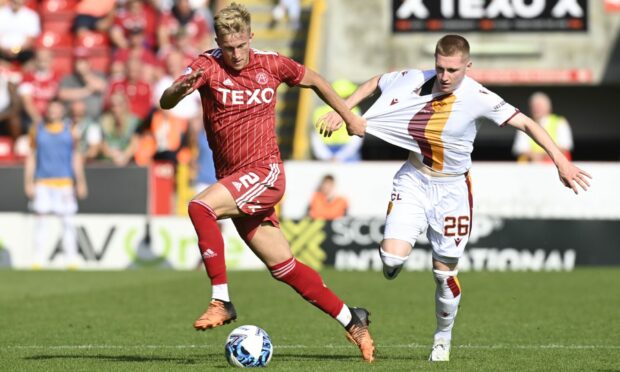
However, with Adam Montgomery, who spent some of last season with the Dons on loan from Celtic, set to face the Dons at left wing back for Saints, his head-to-head with Richardson could prove pivotal in deciding this one.
Montgomery will need no encouragement to get in behind Richardson if the opportunity arises and Stewart will not want to be dragged out of position again as he was on Saturday.